How it works
From a camera roll full of photos to a map of everywhere you’ve been, in three steps.
Step 1
Upload your photos
On your phone, tap Upload and choose photos. On a computer, drag in photos or a whole folder, which is the quickest way to add years of trips at once.
We accept iPhone HEIC photos, Android and camera JPEGs, and PNG, WebP and AVIF. Uploading the same photo twice is fine: we spot it and skip it.
Step 2
We sort them into adventures
Press Process and we read the place and time inside each photo, convert it, and make a fast-loading copy. You can leave the page while it works.
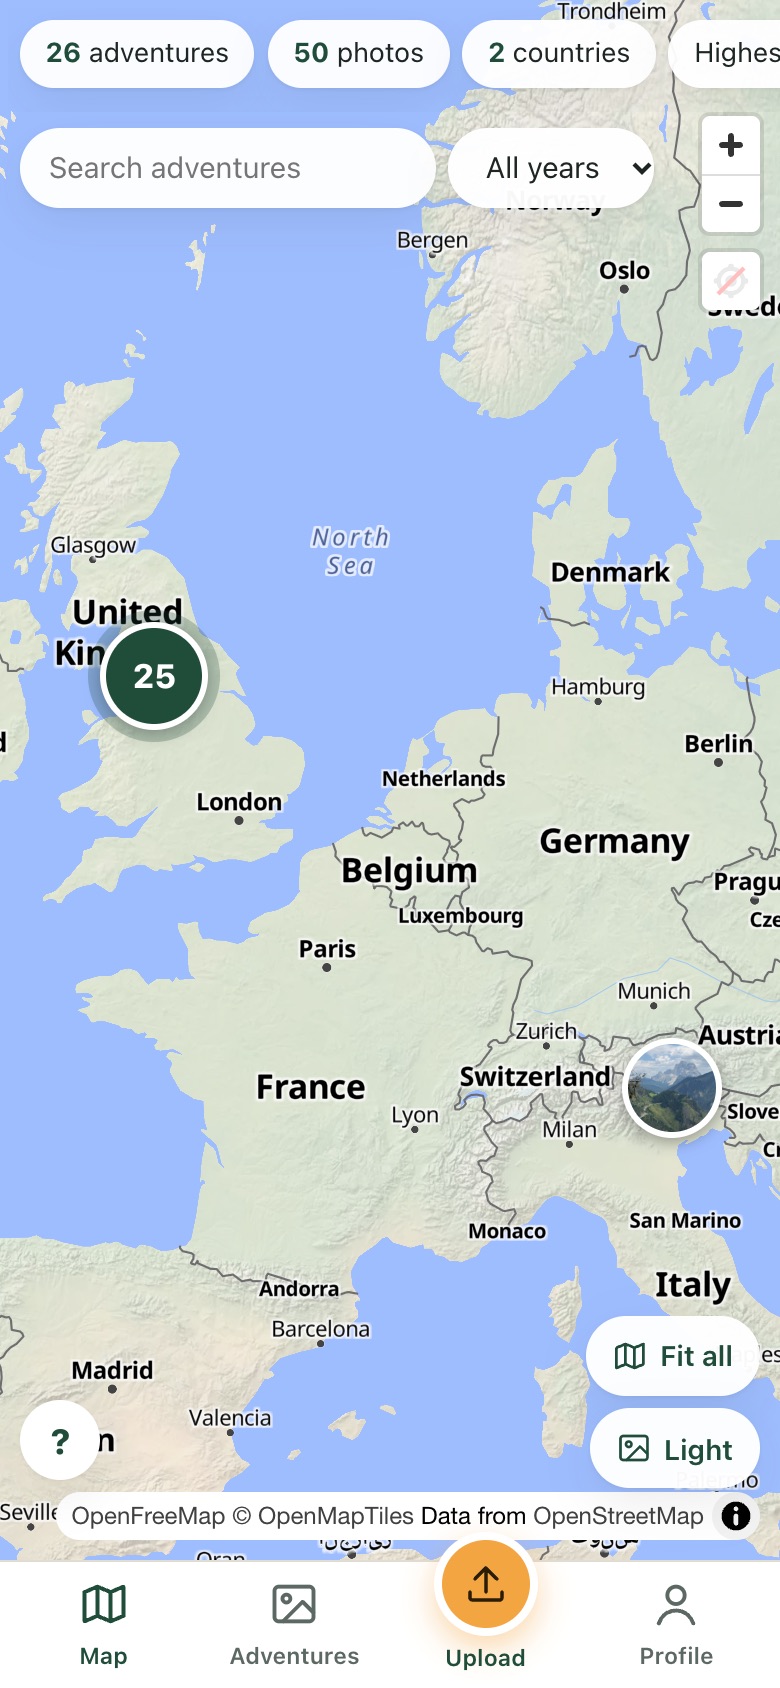
Photos are then grouped into adventures. A new adventure starts when there’s a long gap and you’ve moved a fair distance, so a weekend away stays as one adventure, and a morning walk and an evening climb 100 km apart become two.
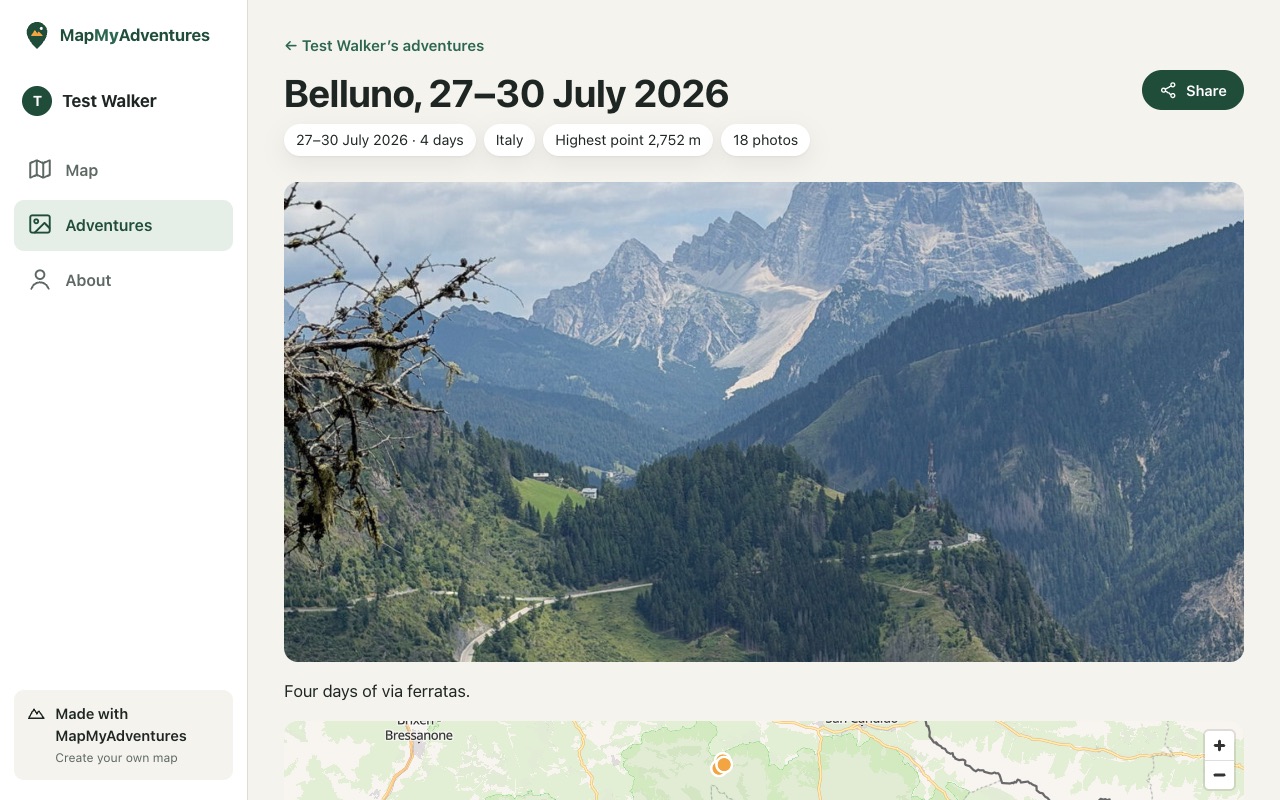
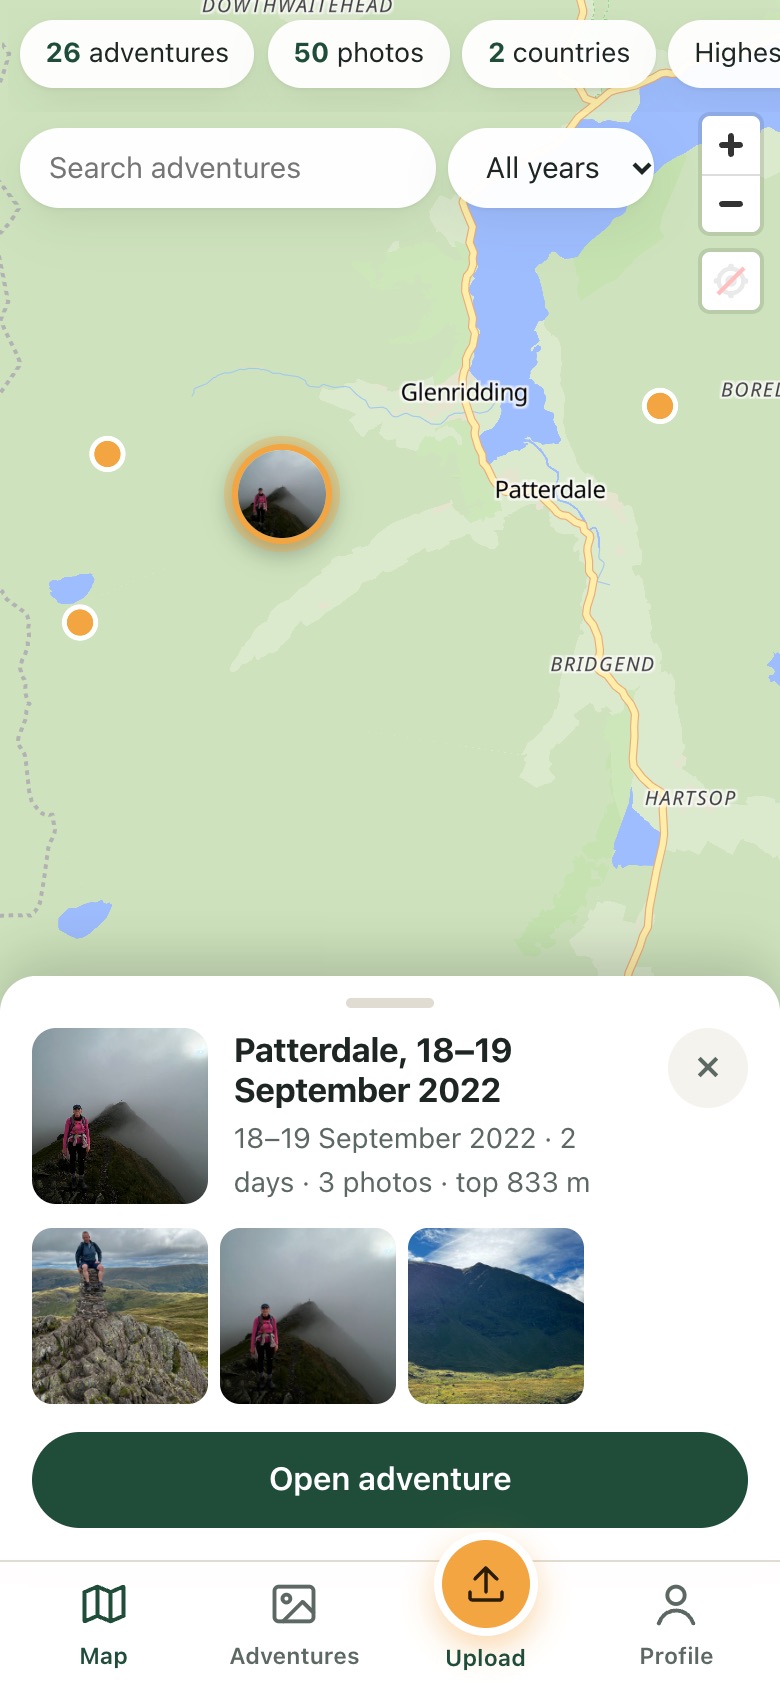
Each adventure gets a name from where you went and when, like Patterdale, 18–19 September 2022, plus its highest point and a main photo.
Step 3
Explore and share
Your map shows every adventure as a photo. Tap one to see where each photo was taken and swipe through them full screen. Search, filter by year, and rename, split or merge adventures whenever you like.
Share your own page with friends and family. You choose what they see: every adventure can be public, link-only or private, and anything near home is always hidden.